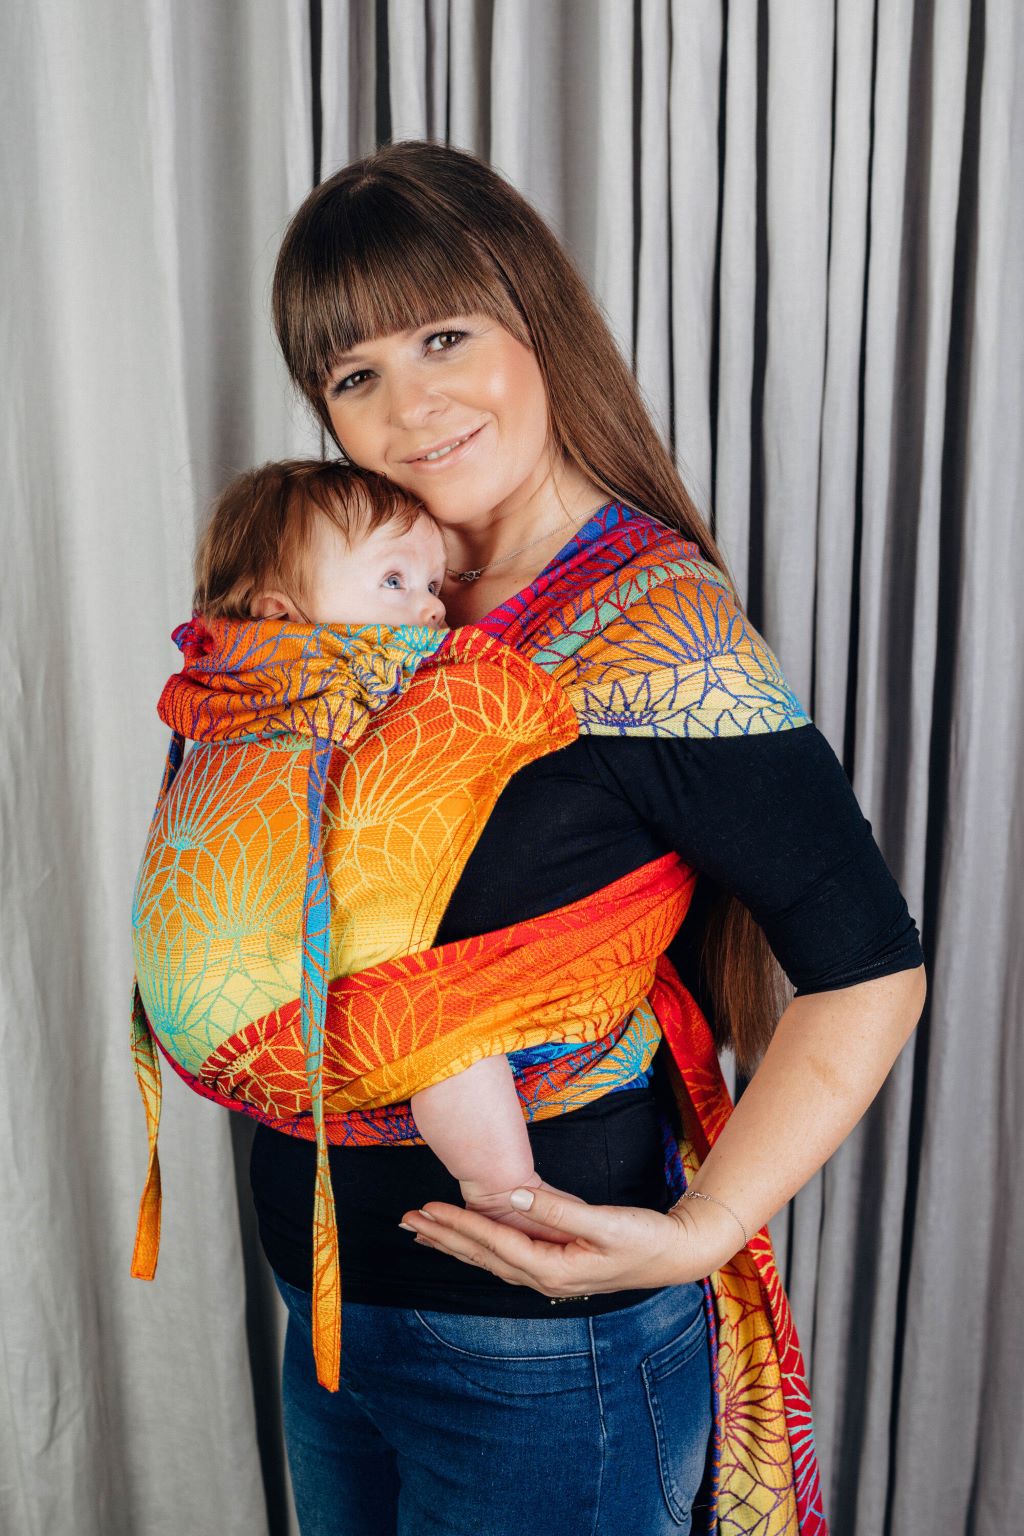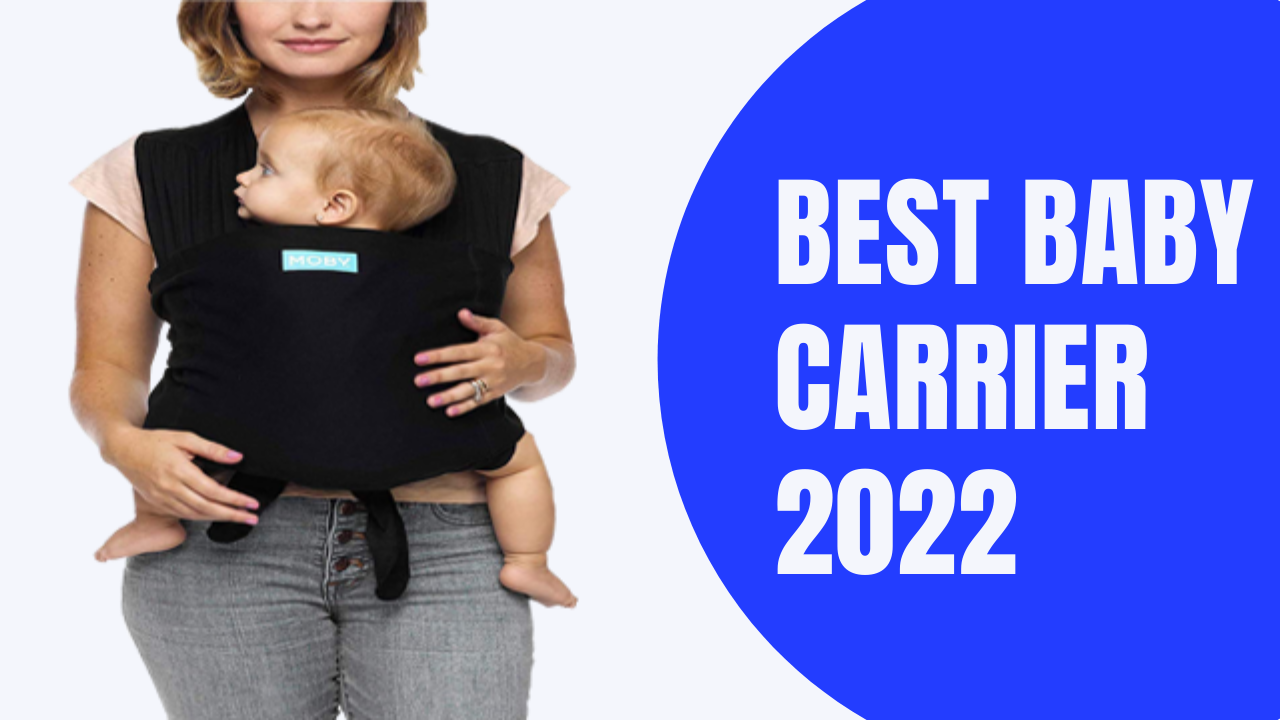
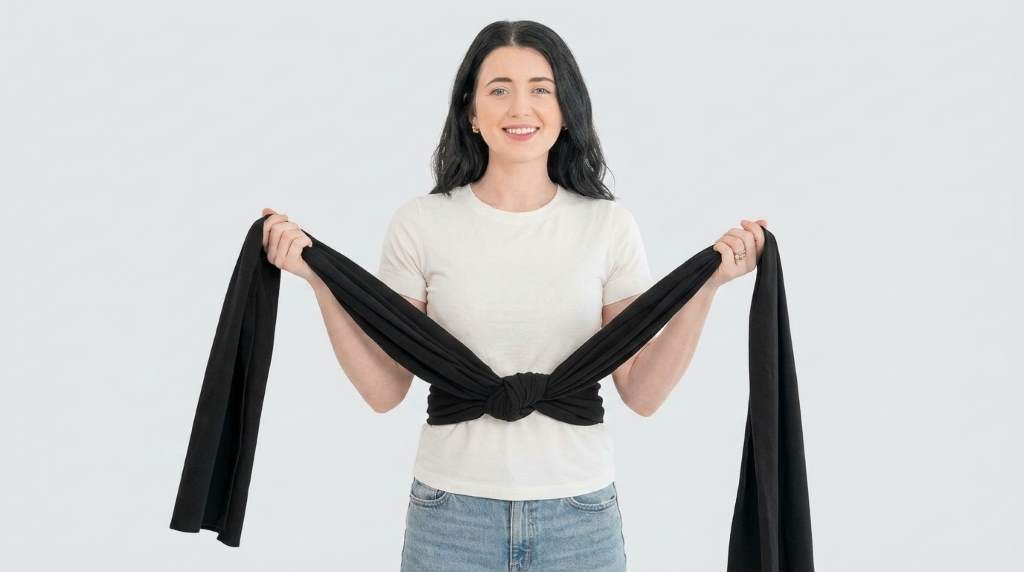
Tie the KeaBabies wrap by centering its logo, crossing the fabric, then securing a firm double knot. Next, position your baby high and snug while keeping the face visible and airway clear. Learning the keababies baby wrap carrier takes practice, but the basic technique quickly becomes familiar. Baby carriers remain popular for hands-free carrying, yet positioning mistakes can cause serious problems. One study estimated 14,000 children visited emergency rooms after carrier-related injuries during 2011 through 2020. About 15% of those injured children required hospital admission.
Key Takeaways
- Find the center logo before starting your wrap.
- Keep the fabric flat while crossing it around your body.
- Choose the newborn hug hold for babies under three months.
- Keep your baby high, visible, supported, and close enough to kiss.
- Spread fabric from knee to knee for proper leg positioning.
- Never allow fabric to cover your baby’s nose or mouth.
Understand the KeaBabies Wrap Before Tying
The KeaBabies wrap uses long, stretchy fabric that distributes your baby’s weight across your torso. Its center logo provides the easiest reference point for starting each tie. Before wearing your baby, inspect the fabric for tears, damaged stitching, or unusual stretching. Then practice the entire sequence with an empty wrap.
A mirror makes your first attempts considerably easier because you can check each crossing. Also, keep the fabric spread smoothly instead of allowing narrow twists to form. Twisted sections can create uncomfortable pressure points around your shoulders and waist. Most importantly, learn the tie before placing your baby inside.
How To Tie the KeaBabies Wrap Step by Step
1. Find the Center of the Wrap
Start by locating the KeaBabies logo positioned near the middle of the wrap. Hold the logo against your stomach at the recommended height for your baby’s carry. Keep both fabric ends hanging evenly on either side of your body. This balanced starting point makes the remaining steps much easier.
2. Position the Wrap Around Your Waist
Bring both ends around your waist and move them toward your back. Keep the fabric reasonably snug, but leave enough room for your baby’s body. Do not create excessive slack that could make your baby sit too low. At this stage, the wrap should feel secure without restricting your movement.
3. Create an X Behind Your Back
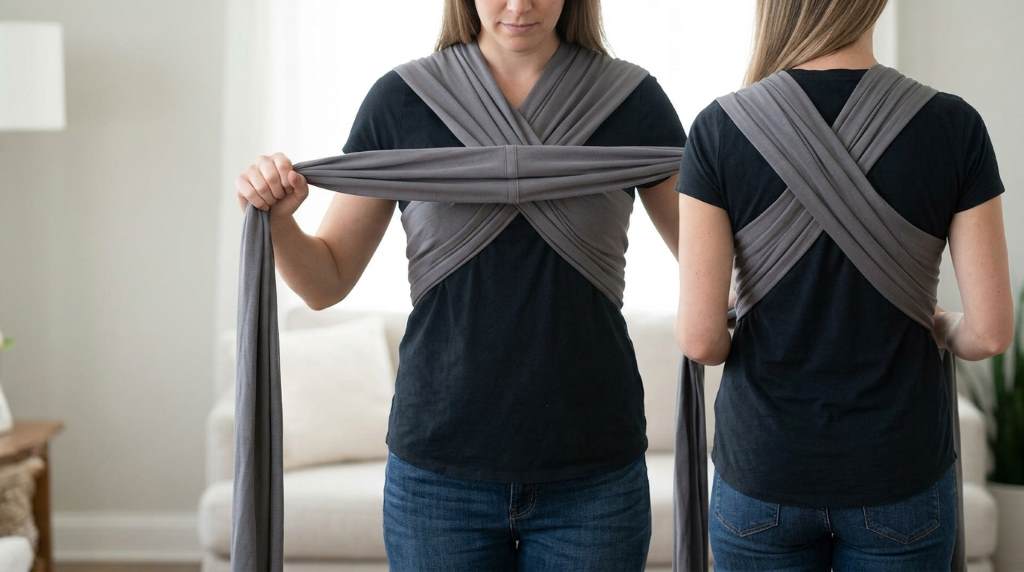
Cross both fabric ends behind your back to form a clear X shape. Then bring each end forward and over your shoulders. Keep the fabric broad across your back for better weight distribution. Smooth any folds before continuing to the next step.
4. Cross the Fabric at Your Front
Bring both ends downward across your chest and tuck them beneath the center section. Pull each end through carefully without twisting the material. Next, cross the two ends again across your torso. This second crossing creates the front structure that supports your baby.
5. Secure the Final Knot
Bring both ends around your body and secure them with a firm double knot. You can position the knot at your front, side, or back. Choose the position that feels comfortable while keeping the wrap securely tightened. Always check that the knot cannot loosen during normal movement.
How To Tie It for a Newborn
Newborns need different support because they lack reliable head and neck control. KeaBabies recommends the Newborn Hug Hold for newborns through approximately three months. For this configuration, fold the wrap lengthwise around the center section before starting. The folded fabric creates pockets that help cradle your newborn.
Follow the same crossing sequence after creating the folded center section. Then place your newborn into the pocket closest to your body first. Support the baby’s head and neck while positioning the second side of the wrap. Finally, bring the logo panel upward to support the baby’s back and head.
Newborn Positioning Checklist
- Keep the baby’s face visible throughout the carry.
- Keep the baby’s chin away from the chest.
- Support the baby’s back with the wrap.
- Keep the baby high against your chest.
- Check the nose and mouth frequently.
How To Put Your Baby Into the Wrap
Once the wrap sits correctly, hold your baby securely against your chest. Identify the two overlapping sections that create the front X. Start with the layer closest to your body and guide one leg through it. Keep one hand supporting your baby throughout this process.
Next, guide the other leg through the outer wrap section. Spread the fabric underneath your baby’s bottom and across both thighs. The material should extend from one knee toward the other knee. This positioning creates a supported seated posture instead of allowing the legs to hang.
Finally, pull the outer logo panel upward across your baby’s back. Position the panel securely while keeping the head and face unobstructed. For younger babies, provide appropriate head support without covering the airway. Check the entire arrangement before walking or bending.
How High Should Your Baby Sit?
Your baby should sit high enough that you can easily kiss the top of their head. Avoid positioning your baby low against your abdomen because visibility becomes harder. A low position can also make the wrap feel less supportive during movement. Instead, aim for a snug chest-level position.
Your baby’s back should remain supported without forcing an unnatural posture. Meanwhile, the knees should remain higher than the baby’s bottom when appropriate. Spread the fabric carefully beneath the thighs to maintain that supported position. Recheck the seat whenever you reposition your baby.
Common KeaBabies Wrap-Tying Mistakes
Starting With Uneven Fabric
Uneven fabric makes one side tighter while leaving the other side loose. Consequently, your baby’s position may shift during movement. Always begin with the logo centered and both ends approximately equal. This simple adjustment improves the entire wrapping sequence.
Leaving the Fabric Too Loose
A loose wrap cannot provide consistent support around your baby’s body. Your baby may also settle lower than intended during walking. Tighten the wrap gradually before placing your baby inside. The finished fit should feel supportive without creating uncomfortable pressure.
Twisting the Shoulder Sections
Twisted shoulder fabric can concentrate pressure instead of distributing weight evenly. It may also make the wrap uncomfortable during longer carrying sessions. Before placing your baby inside, flatten each shoulder section. Broad fabric generally provides a more comfortable contact area.
Covering the Baby’s Face
Never allow fabric to cover your baby’s nose or mouth during carrying. Check your baby’s face regularly because fabric can shift as you move. Keep the head positioned above the fabric when appropriate. If you cannot clearly see the baby’s face, stop and readjust immediately.
Letting the Chin Press Against the Chest
A chin-to-chest position can restrict an infant’s airway. Therefore, keep your baby’s neck positioned naturally and the face visible. Check the airway again after walking, sitting, or adjusting the wrap. Never assume the original positioning remains unchanged.
How To Know When the Wrap Fits Correctly
A properly tied wrap should feel secure without feeling painfully tight. Your baby should remain close to your body rather than hanging away from you. The fabric should support the back while maintaining comfortable leg positioning. You should also maintain a clear view of the baby’s face.
Use a simple five-point check before every carrying session. Confirm that the wrap feels tight, the baby remains visible, and the baby stays close. Then check that the chin stays away from the chest and the back remains supported. These checks take seconds but can prevent serious positioning errors.
Choosing the Right Carry as Your Baby Grows
| Carry | Typical Stage | Main Consideration |
|---|---|---|
| Newborn Hug Hold | Newborn to about 3 months | Requires careful head and neck support |
| Regular Hold | About 3 months and older | Requires stronger head and neck control |
| Front-Facing Carry | Older babies with strong body control | Requires careful positioning and supervision |
| Plus-Size Tie | Adults needing additional wrapping room | Use a comfortable, secure tying position |
Age ranges provide useful guidance, but developmental readiness also matters. A baby’s head, neck, and body control can differ considerably between children. Always follow the carrier’s current instructions for the specific carrying position. When uncertain, choose the position providing stronger support.
How To Remove Your Baby Safely
Do not simply untie the wrap while your baby remains inside. Instead, keep one hand supporting your baby’s head, neck, and body. Lower the front panel gradually while maintaining firm support underneath your baby. Then loosen the remaining layers carefully.
Once the wrap releases enough pressure, slide your baby out while supporting the bottom. Keep your movements slow because sudden shifts can change your baby’s position. After removal, untie the wrap completely if you need to take it off. Never rush this process because removal requires the same attention as installation.
What To Do If the Wrap Feels Uncomfortable
First, identify whether the discomfort affects you, your baby, or both. Shoulder pressure often comes from twisted or unevenly distributed fabric. Baby discomfort may indicate poor leg positioning, excessive looseness, or an awkward seat. Remove your baby if you cannot quickly correct the problem.
Then retie the wrap from the beginning rather than repeatedly pulling individual sections. A complete reset usually produces a more balanced result. Practice several times without your baby before trying again. A mirror can help you identify uneven crossings and loose sections.
Babywearing Safety Checks Before Every Use
- Inspect the wrap for tears, damaged seams, or excessive wear.
- Confirm that the knot remains secure and properly tightened.
- Keep your baby’s face visible and airway unobstructed.
- Check that your baby’s back receives continuous support.
- Keep your baby high enough to kiss easily.
- Monitor your baby’s position throughout the carrying session.
- Avoid routine sleep in the carrier and move a sleeping baby appropriately.
The American Academy of Pediatrics recommends frequent checks when using infant carriers. It specifically warns against blocked airways and positions that press the chin against the chest. Therefore, treat airway visibility as an ongoing check rather than a one-time step. Stop carrying immediately if your baby’s breathing or positioning looks concerning.
How To Practice Before Carrying Your Baby
Practice the complete tie several times without your baby first. A stuffed toy can help you understand where the pockets and panels sit. However, never use a toy as proof that your baby’s final positioning will be safe. Your baby’s size, development, and posture require separate checks.
Stand near a mirror while practicing the first few attempts. Watch how the fabric crosses behind your back and underneath the front logo. Then practice tightening the wrap without creating uncomfortable pressure. Once the sequence feels automatic, practice placing your baby with another adult nearby.
When You Should Stop and Recheck the Wrap
Stop immediately if your baby slips noticeably lower inside the carrier. Also stop if the baby’s face becomes covered or the chin moves toward the chest. Recheck the fabric whenever you change positions, clothing layers, or carrying duration. These small interruptions are preferable to continuing with an uncertain fit.
You should also inspect the wrap after washing and repeated use. Stretchy fabric can change slightly with regular laundering and wear. Follow the manufacturer’s current care instructions for cleaning and drying. Replace the carrier if damage compromises its structure or secure fit.
Frequently Asked Questions
How do you tie a KeaBabies wrap carrier?
Center the logo, cross the fabric behind and across your body, then secure the ends with a firm double knot.
Can a newborn use a KeaBabies wrap carrier?
Yes, newborns can use the Newborn Hug Hold when positioned correctly and adequately supported.
How tight should a KeaBabies baby wrap be?
The wrap should hold your baby snugly against your body without creating uncomfortable pressure.
Where should the KeaBabies logo sit?
The logo should begin near the center of your torso, with its final height adjusted for your chosen carry.
Can a baby sleep in a KeaBabies wrap?
Do not use the wrap as a routine sleep space, and move a sleeping baby appropriately.
Final Thoughts
Tying a KeaBabies wrap becomes straightforward once you understand its crossing pattern. Start with the center logo, keep the fabric flat, and secure the final knot firmly. Then focus on your baby’s airway, back support, visibility, and leg positioning. Those checks matter more than achieving a perfect-looking wrap on your first attempt.
Practice the tie without your baby until each movement feels natural and controlled. Then begin with short carrying sessions and recheck the fit frequently. If the wrap feels wrong, remove your baby and restart rather than forcing an adjustment. Follow these steps consistently, and you can build a safer, more comfortable babywearing routine.