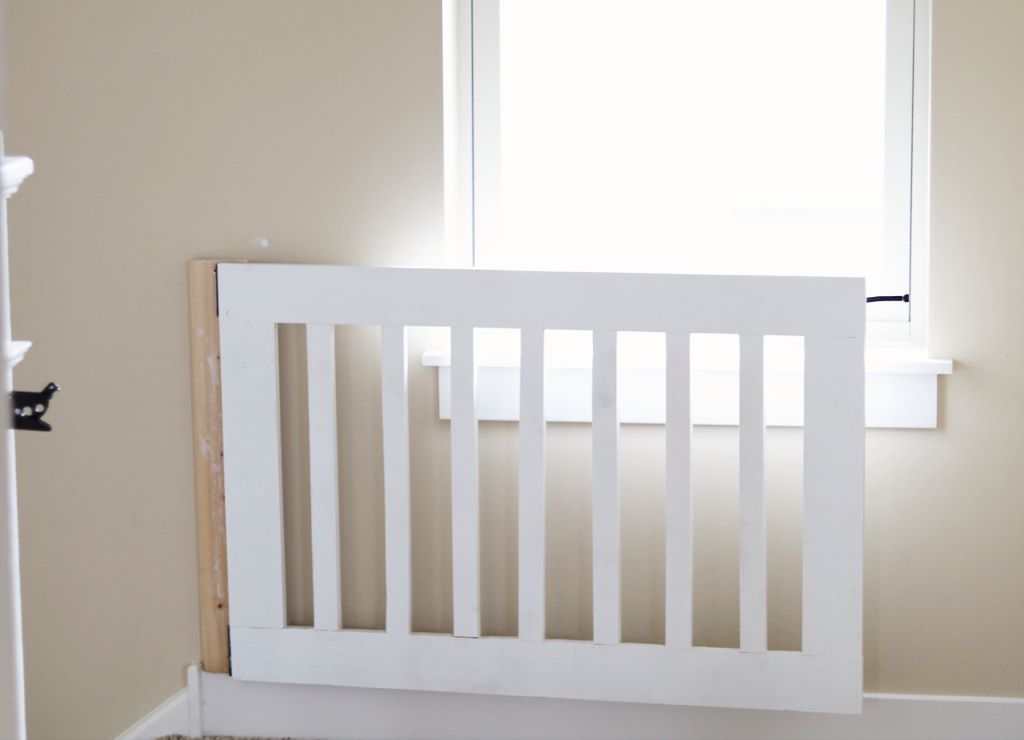
A baby gate is an essential item for childproofing your home, but it doesn’t have to be a boring eyesore. With a little creativity and elbow grease, you can create a unique, hand-painted wooden baby gate that perfectly complements your nursery decor. This project is not only functional but also a fun way to add a personal touch to your baby’s space.
Why Choose a DIY Wooden Baby Gate?
- Customization: You have complete control over the design, color scheme, and overall aesthetic of your baby gate.
- Cost-Effective: DIY projects can be significantly cheaper than purchasing a pre-made gate, especially if you already have some materials on hand.
- Unique and Personal: A hand-painted gate adds character and charm to your nursery, making it a truly one-of-a-kind piece.
- Fun and Rewarding: Building something yourself can be a fulfilling experience, and it’s a great way to bond with your partner or friends.
Materials and Tools Needed to Make Wooden Baby Gate
- Wood: Choose a sturdy wood like pine or oak. The dimensions will depend on the width of your doorway or staircase.
- Paint: Select non-toxic, baby-safe paints in your desired colors.
- Paintbrushes: Have a variety of sizes on hand for different parts of the design.
- Pencil: For sketching your design.
- Measuring Tape and Saw: For cutting the wood to the correct size.
- Sandpaper: For smoothing rough edges.
- Screws and Drill: For assembling the gate.
- Hinges and Latch: For attaching the gate to the wall or door frame.
- Optional: Stencils, painter’s tape, wood stain, or varnish.
Step-by-Step Instructions
- Measure and Cut: Carefully measure the opening where you’ll install the gate. Cut the wood pieces to the appropriate size, ensuring a snug fit.
- Sand and Prepare: Smooth out any rough edges with sandpaper. Wipe away dust with a damp cloth.
- Design and Sketch: Brainstorm a design that complements your nursery theme. Sketch it lightly on the wood with a pencil.
- Paint: Start with the background color. Apply multiple thin coats, allowing each layer to dry completely before adding the next.
- Add Details: Use paintbrushes or stencils to add your chosen design elements. This could include animal motifs, floral patterns, geometric shapes, or your child’s name.
- Seal (Optional): If desired, apply a coat of non-toxic wood stain or varnish to protect the paint and give the gate a polished look.
- Assemble: Once the paint is dry, screw the pieces together to form the gate.
- Attach Hinges and Latch: Install hinges on one side of the gate and a latch on the other. Ensure they are securely fastened.
- Install: Attach the gate to the wall or door frame using screws and a drill. Make sure it is sturdy and level.
Safety Tips
- Non-Toxic Paint: Always choose non-toxic, baby-safe paints for your project.
- Sturdy Construction: Ensure the gate is securely built and properly installed to prevent accidents.
- Regularly Check for Loose Parts: Periodically inspect the gate for any loose screws or hinges and tighten them as needed.
- Supervision: Never leave a child unattended near a baby gate.
Personalization Ideas
- Theme: Match the gate’s design to your nursery theme (jungle animals, nautical, woodland creatures, etc.).
- Colors: Use a color palette that complements the room’s existing decor.
- Patterns: Incorporate stripes, polka dots, chevrons, or other patterns.
- Names and Initials: Paint your child’s name or initials on the gate for a personalized touch.
- Quotes: Add a favorite nursery rhyme or inspirational quote.
- Interactive Elements: Attach beads, ribbons, or other sensory objects for babies to explore.
Related: Do You Really Need Baby Gates? A Guide to Keeping Your Child Safe
DIYing Beyond the Wooden Baby Gate
Once you’ve mastered the art of creating a personalized baby gate, why stop there? You can extend your creativity to other nursery decor items:
- Toy Box: Paint a wooden toy box with whimsical characters or colorful designs.
- Bookshelf: Transform a plain bookshelf into a focal point with a unique paint job.
- Wall Art: Create a gallery wall of hand-painted wooden plaques featuring nursery rhymes or adorable animals.
Related: When to Replace Your Pressure-Mounted Baby Gate: Safety Signs You Shouldn’t Ignore
Conclusion
A DIY-painted wooden baby gate is more than just a safety measure; it’s an opportunity to express your creativity and personalize your nursery. With a little effort and imagination, you can create a functional and beautiful piece that will be cherished for years to come.